Laravel framework provides three primary tools for interaction through command-line namely: Artisan, Ticker and REPL. This chapter explains about Artisan in detail.
Introduction to Artisan
Artisan is the command line interface frequently used in Laravel and it includes a set of helpful commands for developing a web application.
Example
Here is a list of few commands in Artisan along with their respective functionalities −
To start Laravel project
php artisan serve
To enable caching mechanism
php artisan route:cache
To view the list of available commands supported by Artisan
php artisan list
To view help about any command and view the available options and arguments
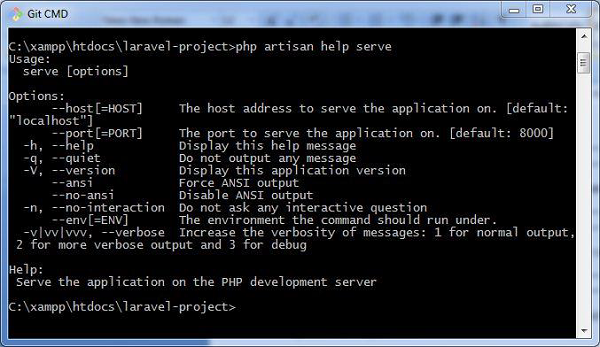
php artisan help serve
The following screenshot shows the output of the commands given above −

Writing Commands
In addition to the commands listed in Artisan, a user can also create a custom command which can be used in the web application. Please note that commands are stored in app/console/commands directory.
The default command for creating user defined command is shown below −
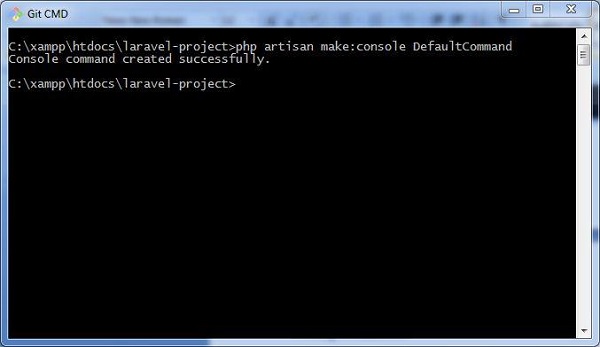
php artisan make:console <name-of-command>
Once you type the above given command, you can see the output as shown in the screenshot given below −

The file created for DefaultCommand is named as DefaultCommand.php and is shown below −
<?php

namespace App\Console\Commands;
use Illuminate\Console\Command;

class DefaultCommand extends Command{
   /**
      * The name and signature of the console command.
      *
      * @var string
   */

   protected $signature = 'command:name';

   /**
      * The console command description.
      *
      * @var string
   */

   protected $description = 'Command description';

   /**
      * Create a new command instance.
      *
      * @return void
   */

   public function __construct() {
      parent::__construct();
   }

   /**
      * Execute the console command.
      *
      * @return mixed
   */

   public function handle() {
      //
   }
}
This file includes the signature and description for the command that user defined. The public function named handle executes the functionalities when the command is executed. These commands are registered in the file Kernel.php in the same directory.
You can also create the schedule of tasks for the user defined command as shown in the following code −
<?php

namespace App\Console;

use Illuminate\Console\Scheduling\Schedule;
use Illuminate\Foundation\Console\Kernel as ConsoleKernel;

class Kernel extends ConsoleKernel {
   /**
      * The Artisan commands provided by your application.
      *
      * @var array
   */

   protected $commands = [
      // Commands\Inspire::class,
      Commands\DefaultCommand::class
   ];

   /**
      * Define the application's command schedule.
      *
      * @param \Illuminate\Console\Scheduling\Schedule $schedule
      * @return void
   */

   protected function schedule(Schedule $schedule) {
      // $schedule->command('inspire')
      // ->hourly();
   }
}
Note that the schedule of tasks for the given command is defined in the function named schedule, which includes a parameter for scheduling the tasks which takes hourly parameter.
The commands are registered in the array of commands, which includes the path and name of the commands.
Once the command is registered, it is listed in Artisan commands. The values included in the signature and description section will be displayed when you call for the help attribute of the specified command.
Let us see how to view the attributes of our command DefaultCommand. You should use the command as shown below −
php artisan help DefaultCommand
Leave a Reply