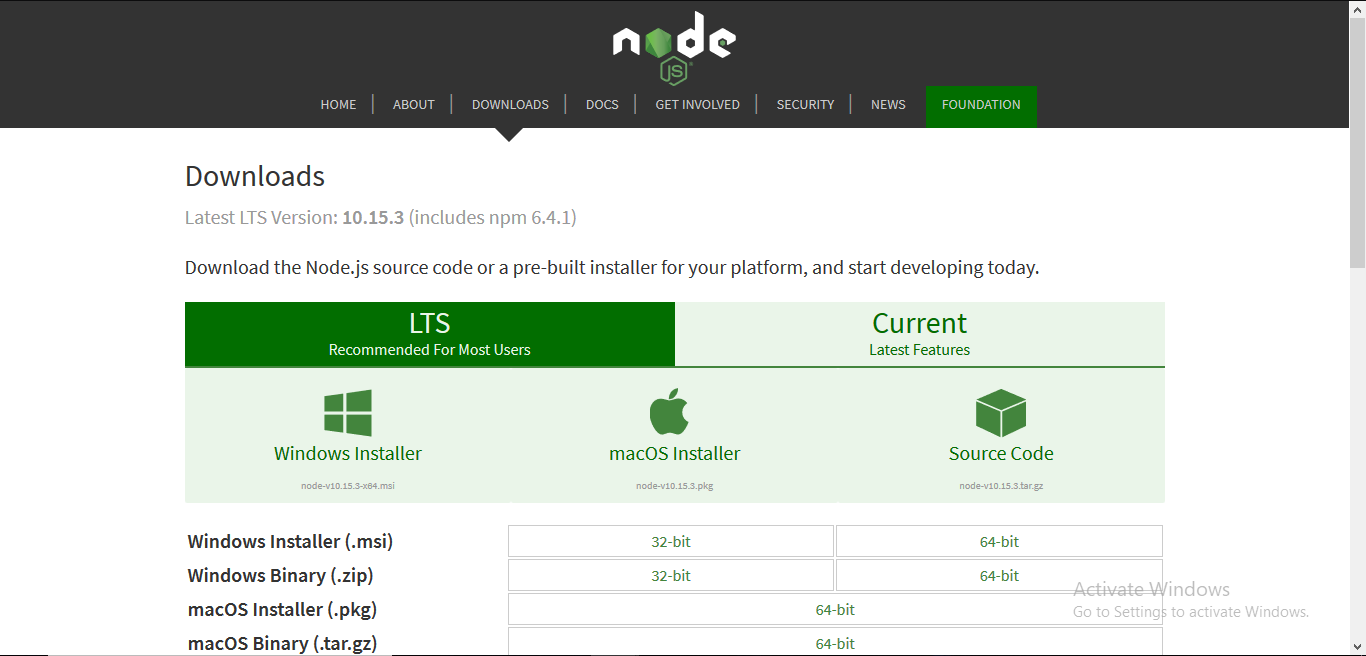
Step 1: Downloading the Node.js ‘.msi’ installer the first step to install Node.js on Windows is to download the installer. Visit the official Node.js website i.e) https://nodejs.org/en/download/
 Step-2: Running the Node.js installer.
javascript:false
javascript:false
javascript:false
javascript:false
javascript:false
Now you need to install the node.js installer on your PC. You need to follow the following steps for the Node.js to be installed:-
- Double click on the .msi installer.
The Node.js Setup wizard will open.
- Welcome To Node.js Setup Wizard.
Select “Next”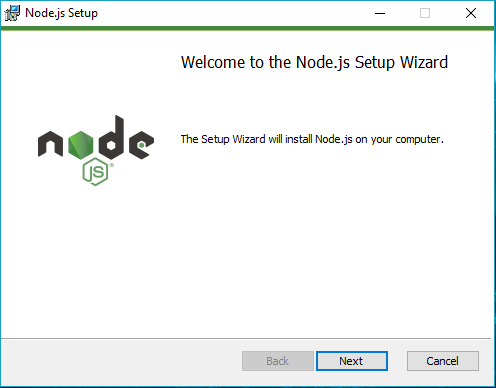
- After clicking “Next”, End-User License Agreement (EULA) will open.
Check “I accept the terms in the License Agreement”
Select “Next”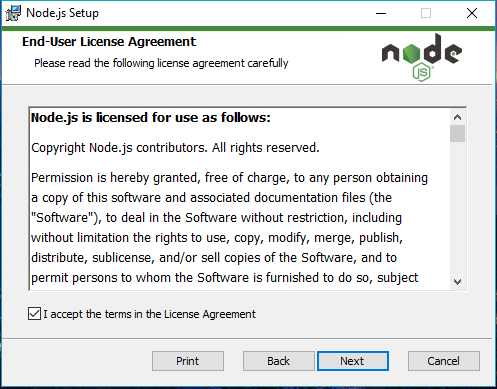
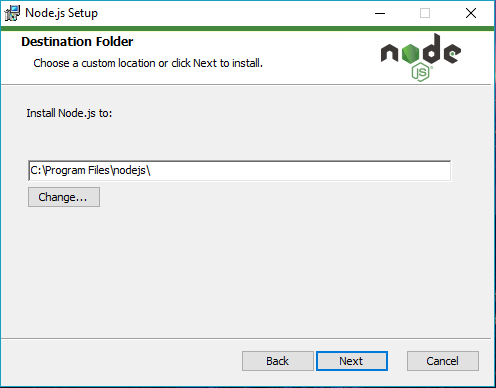
- Destination Folder
Set the Destination Folder where you want to install Node.js & Select “Next”
- Custom Setup
Select “Next”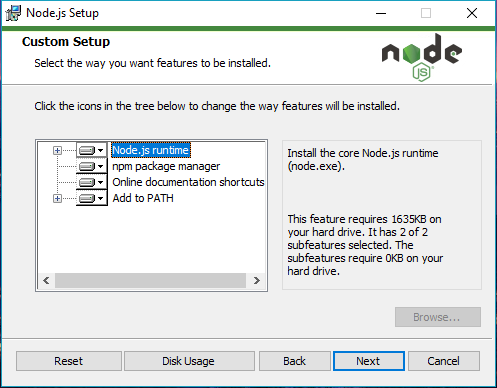
- Ready to Install Node.js.
The installer may prompt you to “install tools for native modules”.
Select “Install”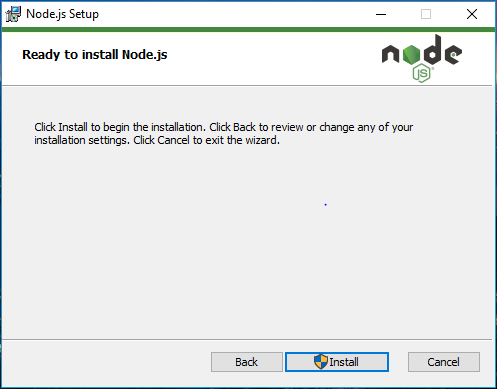
Do not close or cancel the installer until the install is complete
- Complete the Node.js Setup Wizard.
Click “Finish”
Step 3: Verify that Node.js was properly installed or not.
To check that node.js was completely installed on your system or not, you can run the following command in your command prompt or Windows Powershell and test it:-
C:\Users\Admin> node -v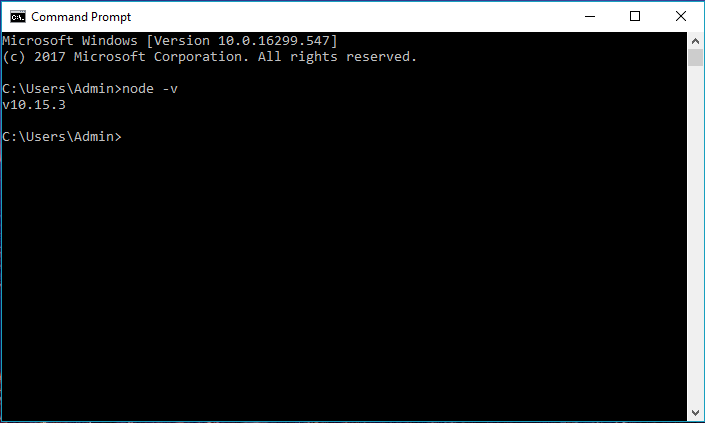
If node.js was completely installed on your system, the command prompt will print the version of the Node JS installed.
Step 4: Updating the Local npm version.
You can run the following command, to quickly update the npm
npm install npm --global // Updates the ‘CLI’ client“This course was packed with amazing and well-organized content! The project-based approach of this course made it even better to understand concepts faster. Also the instructor in the live classes is really good and knowledgeable.”
Leave a Reply